DIY DREAM JEANS- NOTES AND HOW-TO

My dream jeans!
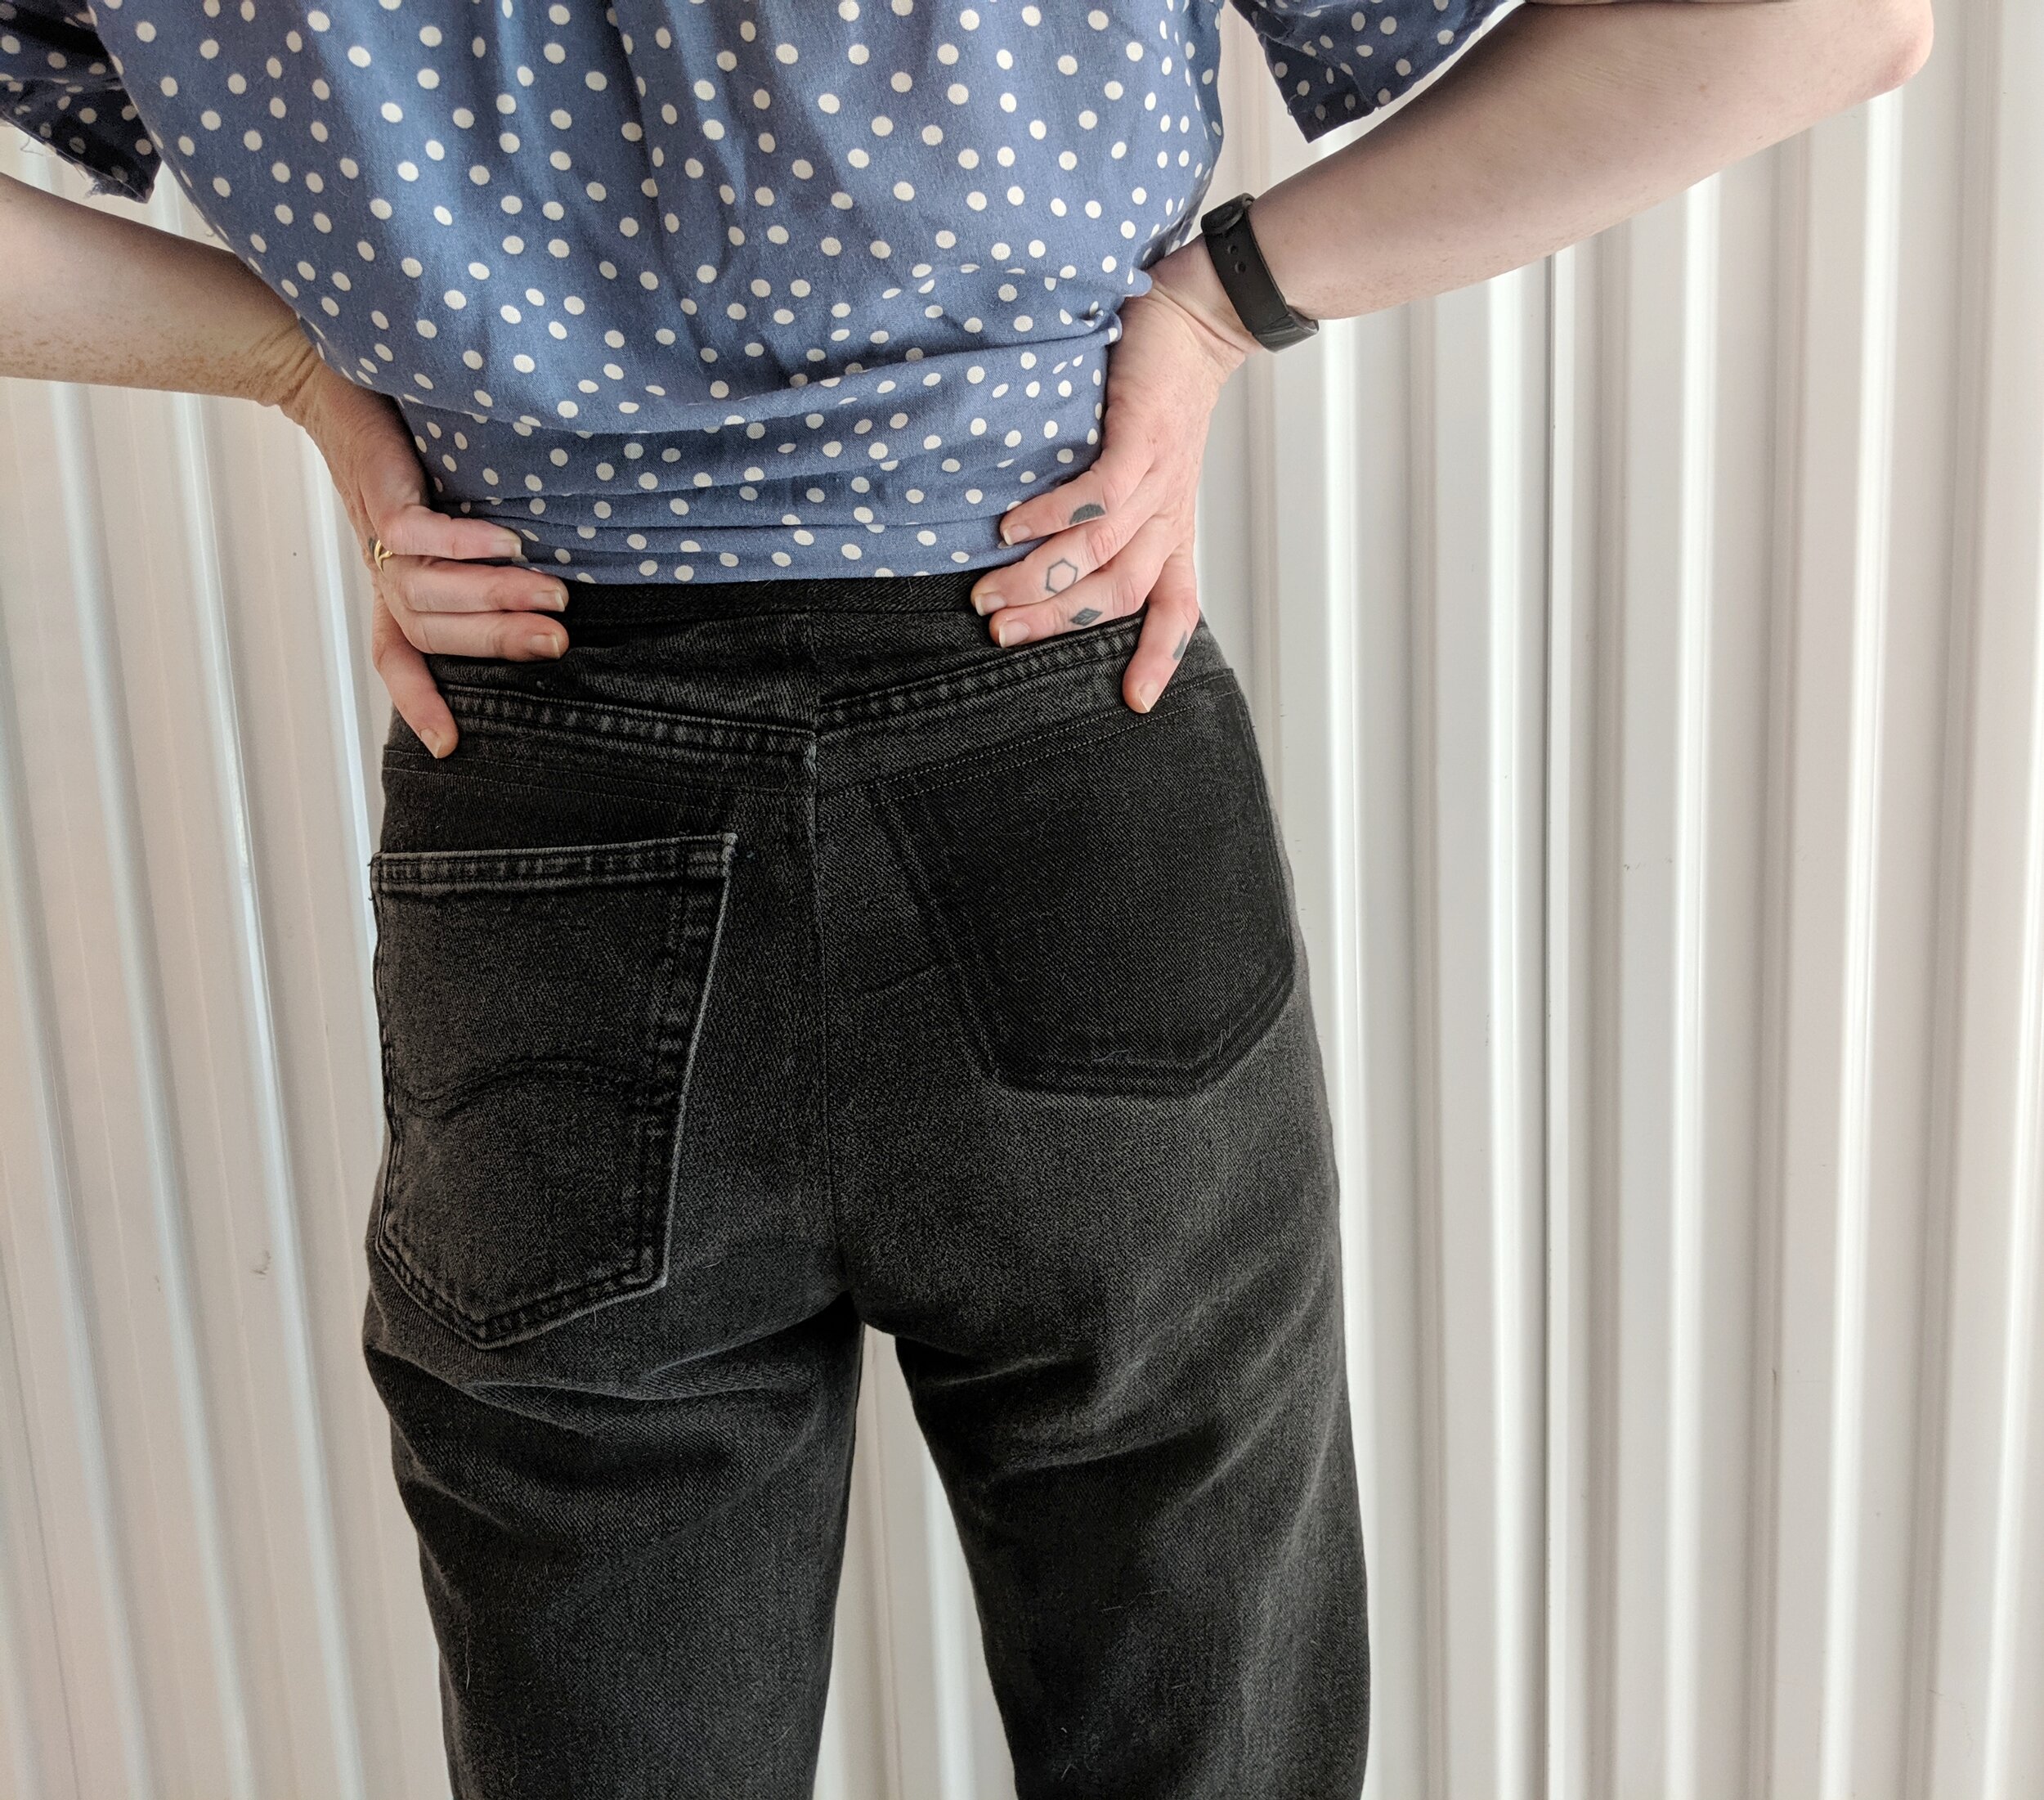
My solo back pocket situation showing off whispers of the life the pants had before I got to them.

Dream jeans side view.
With a lil’ bit more time on my hands, I’ve been able to explore some long-awaited projects on my to-do list! One of the items on the list was making a pair of black jeans. And not just any black jeans-- black, 100% cotton, non-stretch, heavier duty, fits-me-like-a-glove jeans.
Unfortunately for my sanity, non-stretch black denim is hard to come by these days. Fortunately for my creative juices and my wallet, I was able to source some thick, non-stretch black denim from...two pairs of thrifted men’s jeans! With some scheming and time, I knew I could take apart and rebuild a pair of jeans out of the fabric of my dreams (all for a whopping $10!). Here are my notes on how I built these fab jeans:
Materials I used to make this project:

2 pairs of black men’s jeans in a larger size than what I wear (these were size 38 x 30). You may be able to get away with one pair if you can get your hands on a super large pair.
Megan Neilson’s Dawn Jeans pattern. I recently made an awesome pair of blue jeans with this pattern and loved it! I knew my dream jeans should be made in the same way...
Closet Case Patterns Zipper Fly Jeans-Making Kit ( I just used the zipper and button. You should be able to purchase those separately elsewhere if you don’t want a whole kit).
My sewing machine/sewing kit (obvi...)
I started my jeans journey by taking one pair of pants back to their most basic elements. This involved dismantling major portions of the pants while also maintaining their integrity. I set myself up with some Hulu and carefully started to seam rip! Here’s what I separated in roughly the order I separated them:
Belt loops (removed completely)
Waistband (removed completely)
Left leg from right leg via the crotch seam. Separating the Fly Extension from the zipper will allow you to fully separate the legs from each other. I kept the front pocket/pocket bags completely intact. I did, however, end up removing the back pockets and replacing them later.
Ripped open the inseam of each leg unit. Ripping out the inseam allowed me to lay out each leg unit flat and easily trace my Dawn pattern pieces to the front and back legs.

L to R (ish): Waistband, Fly Extension, Fly (before old zipper was removed), pile of belt loops sprinkled below, left and right leg units laid out flat.
With the original jeans dismantled, I then ironed out my leg units nice and flat, including seam allowances. The jeans I got weren’t that much bigger than my personal size, so I needed to get access to as much of these pants as I could get!

I love seeing the difference between the exposed fabric and hidden areas such as the seams and inside the pockets. It reminds me that it lived another life before they came to me.
Once ironed, I took my Dawn pattern pieces and traced them onto the pants. If you have a pair of pants a lot larger than your personal size, you may be able to just lay your paper pattern wherever you want and cut out your pattern pieces. For me, I didn’t have a lot of wiggle room so I had to be a bit more strategic. I also wanted to try and reuse as much of the original pant features as I could-- like the front pockets and pocket bags so that I didn’t have to redo them later. I organized my paper pattern so that I could keep the front pocket intact and the front fly intact (though I did have to replace the zipper...).

My paper pattern laid out to keep the front pocket intact.

The blue chalk line indicating where I traced and would eventually cut out.
Another thing that I had to keep in mind while cutting out my jeans was the rise in the back. The Dawn Jeans are a high waisted cut (my fave…). Most of the time, men’s jeans have a much lower rise than women’s. I had to get creative in order to make sure I could get a properly sized yoke from my back pieces. In the end, it would result in me having some extra seams from the original pants in my finished yoke.

My yoke and back paper patterns placed.

Blue chalk lines indicating the final placement.
I thought that I would be able to salvage the original waistband from the thrifted pants, but to my dismay it did not work out. It was best for me to cut out a new waistband all together. Enter in the second pair of thrifted pants! I was able to cut out a new waistband from one of the pant legs on the second pair.


All of the pieces (sans waistband) that I would use to rebuild my jeans.
From this point, I rebuilt the jeans using the sewing directions in the Dawn Jeans pattern. Since I kept so many features from the original pants, I was able to skip through major steps like creating a brand new fly/fly extension and assembling the front pockets/pocket bags. Easy peasy! I also left off one of the back pockets to show off the fun shadow from where the original pocket used to be and chose not to re-install the belt loops (because in, sort of, the words of Wayne from Letterkenny, “I wear pants that forking fit…”).
And there you have it! My notes on how I made my dream jeans…from other jeans! If you try out a similar project (which I hope you do!) don’t hesitate to shoot me any questions or share what you made!
-KB


